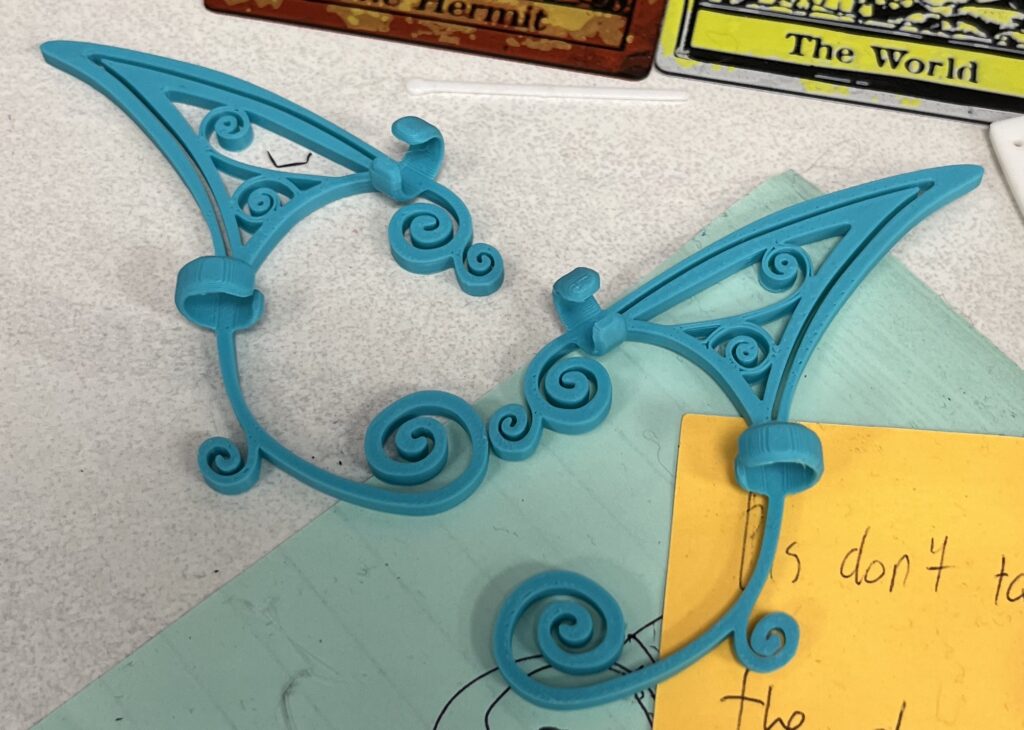
The documentation I created are the descriptions for the 3D print display items. This is a different kind of documentation than the usual “here’s how to use this tool” because these descriptions are meant for anyone walking by, not just future Vivero Fellows.
My approach to documentation is honestly pretty chaotic. I write things when I feel like it, which isn’t the most systematic approach but it works for me. For this project specifically, I put a lot of thought into making the descriptions actually interesting to read because of my personal experience. To be honest, I get really bored from art museum labels… I read a couple, maybe some, and then just start looking at the art without reading anything. I didn’t want that to happen with our display. That’s why I tried to make each description quirky and approachable. For example, instead of just saying “this is a mathematical surface,” I’d explain why it looks like a sombrero and how you could make your own. The goal was to make someone walking by actually stop and read, not just glance and move on.
The struggle is that I make a lot of edits. I’ll write a description, think it’s okay for now, then rewrite it three times because it sounds too formal or too casual or not interesting enough. I also ask for a lot of feedback — I sent revised descriptions to the students whose work I was describing to make sure I wasn’t misrepresenting their projects. That back-and-forth helped me find the right balance between being accessible and being accurate.
Looking back at my documentation now, trying to imagine I’m someone new seeing these descriptions, I think they do a pretty good job of capturing what each print is about while keeping things engaging. Some of them might need tweaking once we actually put them up and see how people respond, but overall I’m content with how they turned out.
My general approach to documentation is to write what you’d want to read. If I’m bored writing it, someone else will definitely be bored reading it. For these display descriptions, that meant adding personality, asking questions, and connecting the prints to real-world applications people might care about. It’s not the most efficient process since I revise so much, but I think the end result is worth it.
The hardest part is knowing when to stop editing. At some point you just have to accept that it’s good enough and move on, which is something I’m still working on. (This is why I don’t like writing papers and have never taken an English class here).
Sample
Title: Upcycled Bike Touring Straps
Creator: Ethan Versh ’27
Description: A sustainable approach to bike touring gear, these straps combine 3D-printed buckles (from an online STL file) with recycled bicycle inner tubes and contact cement. This project demonstrates how 3D printing can be integrated with traditional materials and upcycling to create functional, custom equipment. (Source)
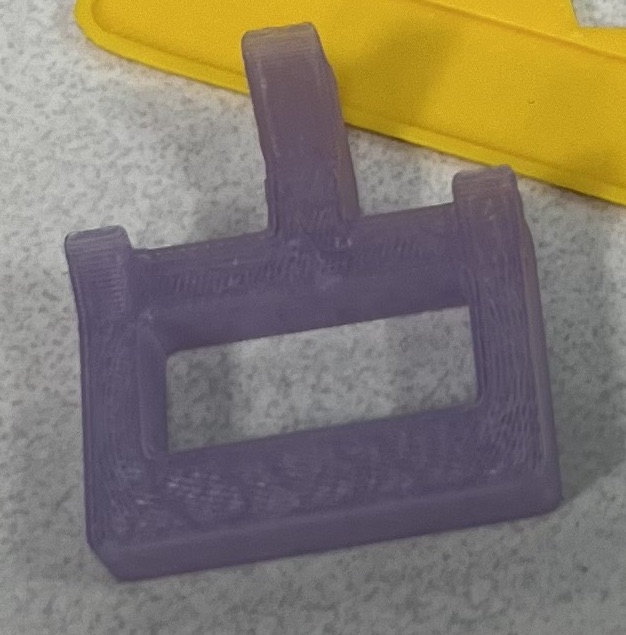
Title: Elven Ear Cuff
Description: Instant elf transformation, no piercing required! This clip-on ear cuff demonstrates how 3D printing can produce delicate jewelry with intricate details. The swirling design would be challenging to craft by hand, but a 3D printer recreates it perfectly. Custom jewelry and cosplay accessories are now just a print away! (Source)